How to Install a Pendant Light Fixture
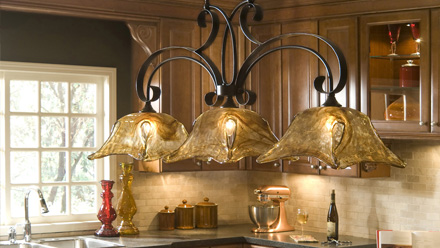
From coffee shops to home kitchens, pendant lights have become a chic addition to any well-designed space. Like recessed lights, pendant lights are also one of the easiest lighting upgrades you can make to your home. Assuming you are replacing a fixture that already used a junction box, it will only take four steps and about half an hour to install you fashionable pendant light.
Step By Step
Before You Begin
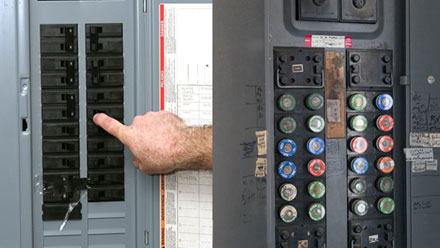
Before you begin, make sure to cut off the power to the room at the circuit breaker and assemble the needed tools and equipment. You won't need many tools--just a screwdriver, a pair of wire strippers, and some wire nuts. It's also a good idea to wear a mask and goggles to shield your face from drywall debris and insulation.
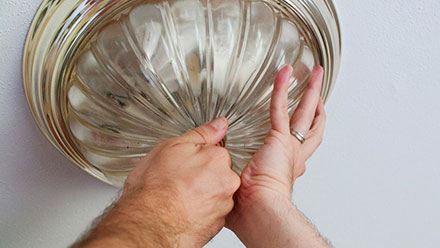
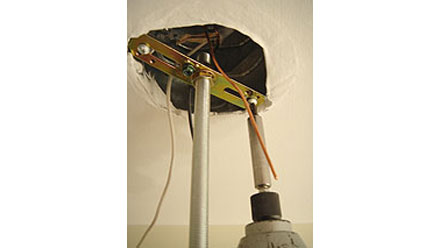
Step 1: Remove the Existing Fixture
Most ceiling lights and chandeliers are mounted in the same way and are easy to replace with a pendant. Remove the canopy that covers the junction box, disconnect the wires, and dismount the fixture by removing the screws from mounting bracket.
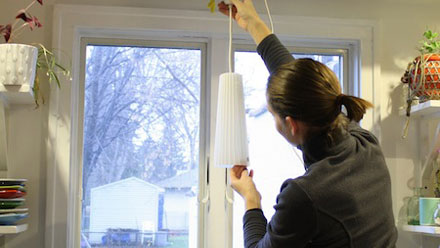
Step 2: Mount the Pendant Light
Unscrew the threaded rod that attaches the old fixture to the mounting bracket, and screw the rod from the pendant to the mounting bracket. Using your screwdriver, replace the mounting bracket. Your new pendant is nearly finished!
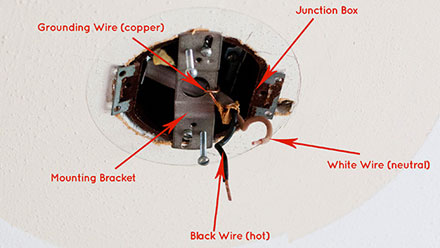
Step 3: Make Electrical Connections
Attach the wires from the pendant to the wires in the junction box using wire strippers and wire nuts. Connect green to green (usually the ground--may also be bare copper), black to black, and white to white. Stuff the wires into the junction box and attach the canopy.
Step 4: Finish the Installation
Finally, install the shade and the bulb, then turn the power back on. Congratulations! You've now installed a pendant light.